Hey there! I have been an absent blogger lately, right? I've been so busy and the weather has been just lovely, so it's been hard to plop myself down in front of the computer. Our kiddos are just about finished with school for the summer and I. Can't. Wait! No more getting up at the crack of dawn to get everyone out the door on time. Staying up late and sleeping in.
But best of all, spending time with my kids.
We love summer!!

So, I've been busy doing more fun projects around the exterior of our house. See, after 6 years of wanting needing a privacy fence in our back yard, we finally put one up and couldn't be happier. It looks so much better and as a result, I've been adding things we've always wanted to here and there. Starting with landscaping the side of our home. It's always been rather dull so we took the plunge there, too. We waited until shrubs went on sale for half price so landscaping the side wasn't costly, just a little hard work.
Last year my boys gave me a hydrangea bush for my birthday that I planted along this side, however, it needed some company, so we added some white azaleas, a favorite of mine. I still thought there was something missing and have always wanted window boxes, but didn't want to spend the money or buy the typical iron variety. My good friend Lisa, who also happens to be my neighbor, made the coolest window box for her gorgeous front window a few years ago and I've always admired it. So, I did what all good friends do, I shamelessly copied it. :) Here's how I made mine.
The only thing I bought for this project was the pots and flowers. Actually, my wonderful hubby bought them for me for Mother's Day. :)
Everything else was scrap around our house.
I started with 1 x 12's that I cut to be the same length as the lower ledge of the window.
Then I took my pots, turned them upside down and placed them on the wood, then traced with a pen.

For the long double window, I needed 4 pots so I evenly spaced them and traced. Do NOT cut yet!
The next step is to trace another circle inside that one that is about a 1/4 inch smaller in diameter. The pot will sit inside the circle at the lip. Then I cut each circle out with a jig saw.

After lightly sanding the rough edges, I painted the entire piece white. Notice the almost finished fence! I also was able to remove the chicken wire fence I put around our veggie garden to keep the deer out. Yay!

Set the boards aside and let dry. Next up are the brackets the ledge will sit on. I already had 4 of these from another project but I wanted them to be a little sturdier so I added a piece of 1 x 3 to the back of each one and secured with screws.

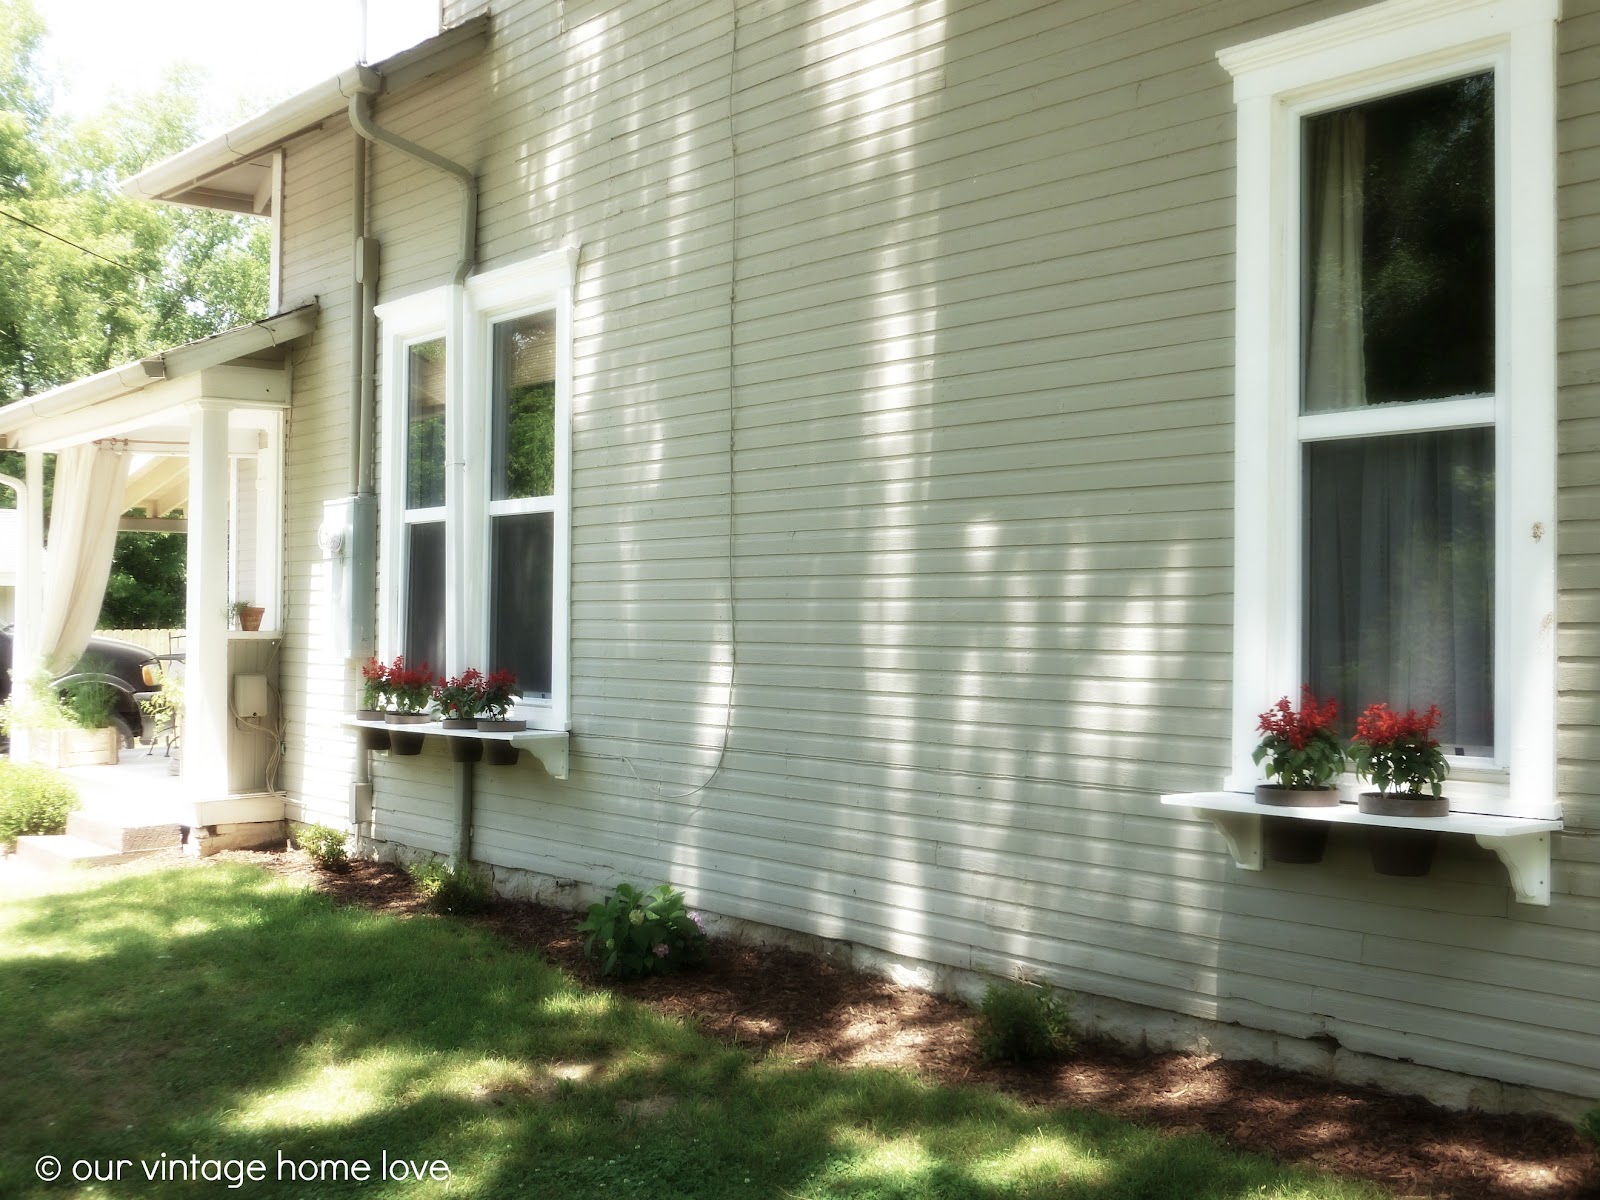
Then I painted those white, as well. After they are dry, I attached them right under the window leaving about an inch gap between the top of the bracket and the under side of the window ledge for the top to fit in. Next I placed the ledges on top of the secured brackets, secured them with screws to the brackets, and placed the pots that I filled with the gorgeous red flowers inside. Here's how it looks.

And the other window.

I LOVE them! I think what inspired me to do this was the lovely chocolate terra cotta pots available now. I am crazy about them and wanted to find a way to showcase them. Hopefully, the window ledges take your eye away from the ugly electrical garbage on this side of the house. I can't wait till these bushes have filled in a little and are full of beautiful flowers.
So that's it! Thank you to my friend, Lisa for the great idea! 

Happy Summer!
0 comments:
Post a Comment