Navajo white with 1980's brass fixtures, white cultured marble countertops and a roman tub with white tile surround. Barbara's style was dark woods, minimal decoration, clean lines, and contemporary european style cabinetry.
There were changes to be made!
 We did away with the 80's vanity, replaced it with custom cabinetry, raising the height and extending the cabinetry to the floor to maximize storage. The before photo here shows the dated style vanity, cultured marble counter top, contractor's standard glued-to-the-wall miror and white tile floor.
  A beautiful difference! We chose dark chocolate (a custom color stain) european style custom cabinetry with brushed nickel contemporary handles. The countertop is a solid travertine slab and the floor is 18 inch noce travertine tiles. We chose an opaque lustre glass tile backsplash in tones of honey, gold and brown. Brushed nickel single arm faucets continued the contemporary spa-like feel .
  Barbara loved her roman tub, and since it was in excellent shape, decided to keep it. The brass faucets had to go, as did the dated mini blinds. However, privacy was an issue with the oversized picture window and neighboring homes just a few feet away.
  So we put in a new vinyl window with opaque glass for privacy. We carried the mirror and the backsplash wall to wall to open up the space. The tub surround was tiled in 12 inch noce travertine, which we carried up to backsplash height and partially framed the window. To change things up a little, we selected an oil rubbed bronze contemporary faucet (not an easy thing to find - oil rubbed bronze in contemporary style) for the roman tub - an idea that Barbara had seen and liked in an upscale hotel. The old plumbing resisted being removed and I was afraid we would have to replace the roman tub because I was certain it was going to crack before they got the old faucet off. In the end, we had to saw the old faucet off, and managed to do so without destroying the tub.
  Here is another view of the roman tub as it appeared before the renovation.
  Note how the area - sink, tub and shower - is unified with the backsplash and carrying the backsplash into the roman tub area, and eventually into the shower.
  The room is full of light, but warm - not sterile.
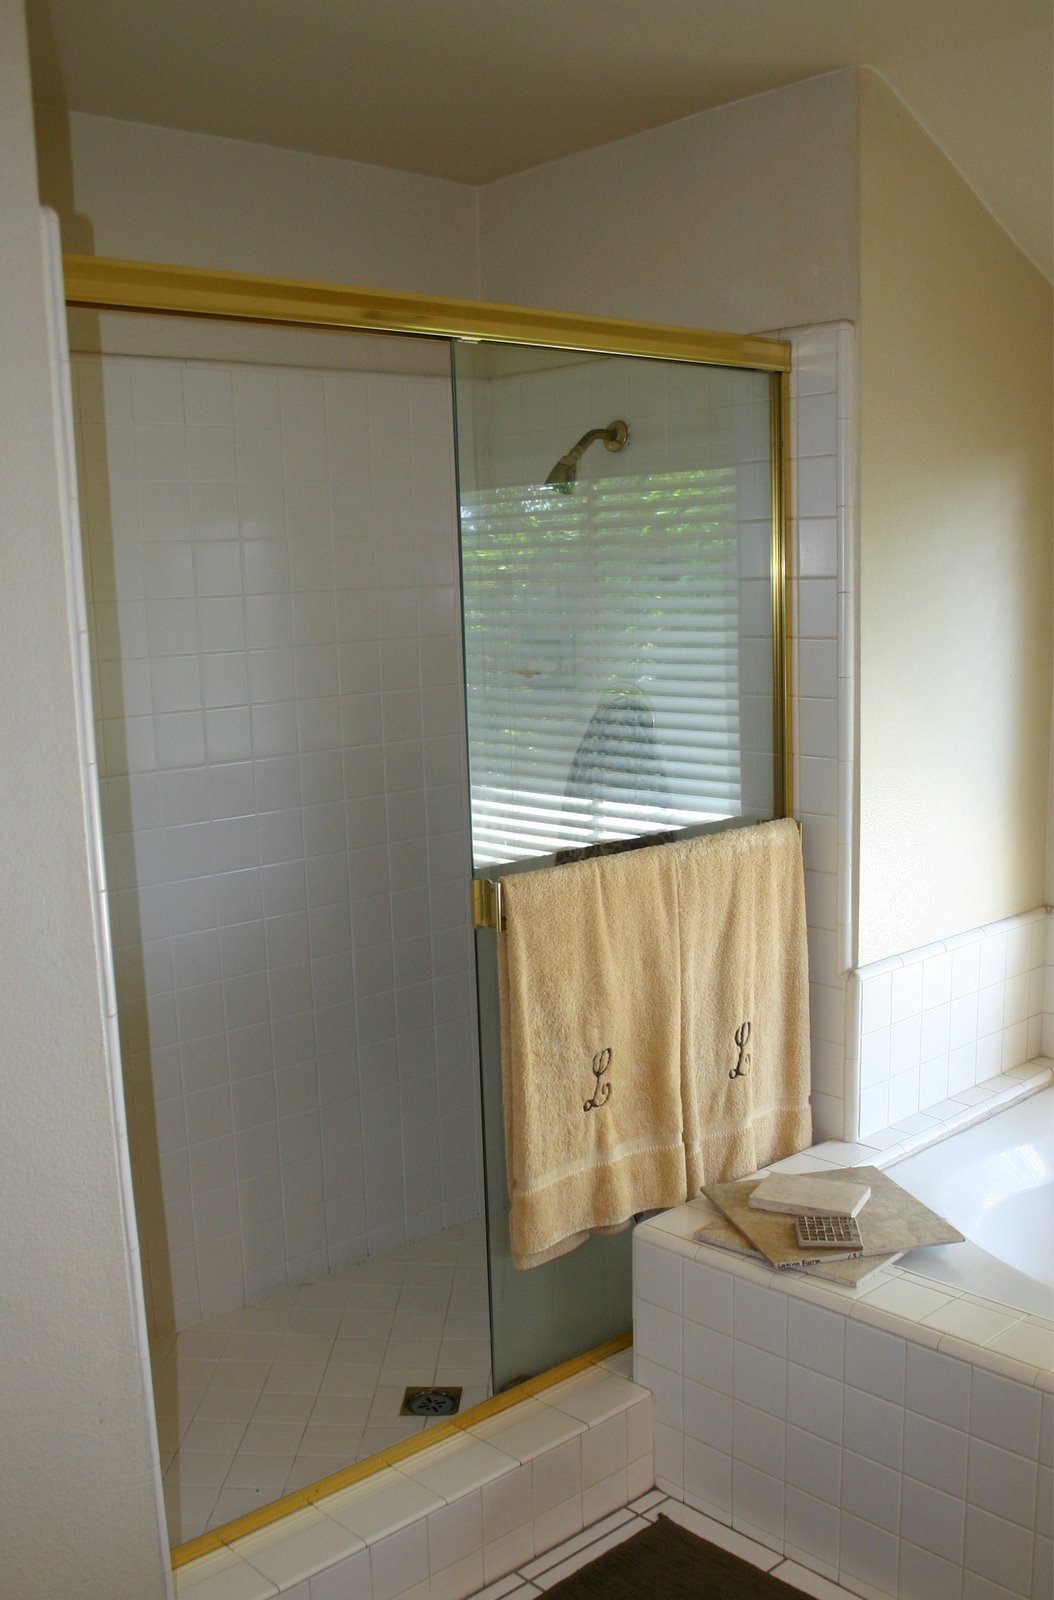
The shower was white 6 inch tile with brass framed sliding glass doors. The shower head came to the neck of anyone of normal height. We demolished the entire shower and to our surprise found that the subfloor beneath had not been waterproofed. We hot mopped the shower pan and waterproofed the shower. Since we had the wall open, we checked the 20+ year old plumbing and made any repairs needed. (A wise thing to do when redoing a shower - can you imagine putting in all that wonderful tile or stone and THEN having a leak in the pipes?)

We created a shower nook for soap and shampoo and used the opaque lustre glass tile inside the nook and as a border in the shower. The walls are tiled in 12 inch noce travertine, the floor in a 4 inch version. New shower head, thermostat and a separate hand spray in brushed nickel were installed. We raised the height of the shower head, so that washing hair didn't require a stoop.
Frameless glass shower doors allow the beauty of the tile to shine through. The door swings inward or outward and the glass was customized to wrap the tub surround. Unseen in these photos is a built in seat inside the shower.

At the entry to the bath, white painted linen cabinets and counterspace were demolished and custom cabinetry and drawers in dark chocolate installed in their place.

The same european slab front cabinets and drawers make a rich toned statement with brushed nickel pulls. We also added valuable storage here by installing drawers and doing away with the countertop.
The photos here are devoid of the finishing accessories, added after I took the photos, but I think you can see how beautiful the project turned out.
0 comments:
Post a Comment